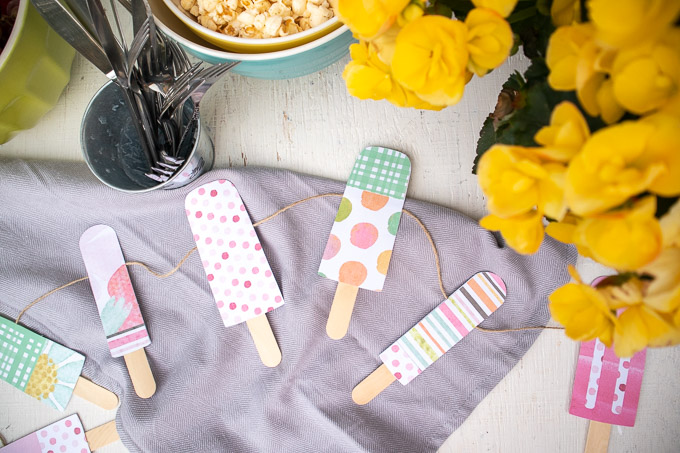
Looking for a fun DIY decor idea that is perfect for a summer-themed party? This Paper Popsicle Garland made using your Cricut is the cutest decoration, ever!
Why spend time searching everywhere for the perfect party decorations when you can just make your own instead? This step by step tutorial will show you how to do just that.
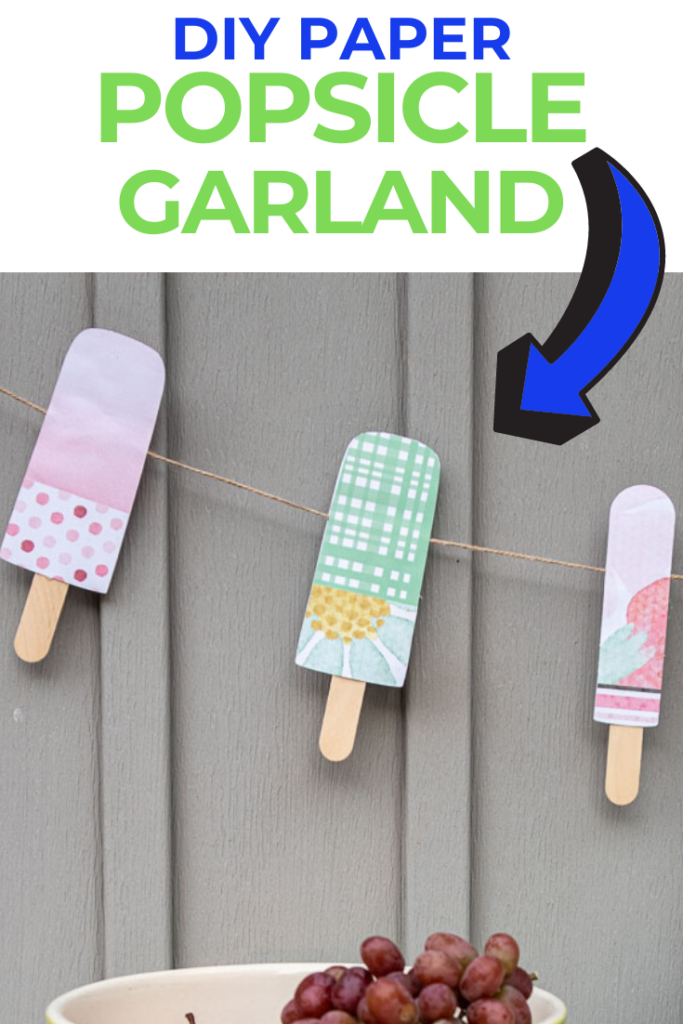
Cricut Paper Popsicle Garland (with SVG)
I love throwing parties. And even more than throwing parties, I love a good deal. What I’ve discovered after throwing many parties is that it’s almost always better to find a way to make your very own decorations.
Ever since I started using my Cricut machine, I’ve opened up a ton of potential and ideas! This Paper Popsicle Garland is just one of the latest that I’m pretty much obsessed with!
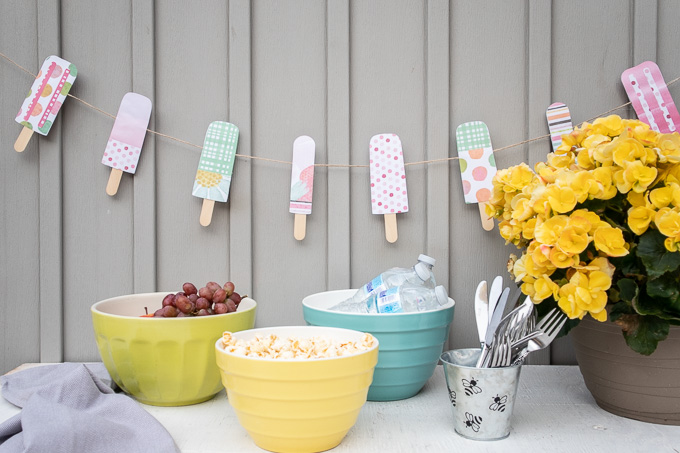
It’s not hard at all and it showcases beautifully. Once you make it and hang it up, you’re never going to want to take it down!
Supplies needed for this Paper Popsicle Garland
- Popsicle SVG File
- Cricut Maker with Fine Point Blade
- Cricut Light Grip mat
- Decorative Copy Paper in coordinating colors (we used Recollections Blossoms & Bliss Paper Pad)
- Wooden Popsicle Sticks, Large
- Scissors
- Cricut Scraper Tool
- Glue Stick
- Hot glue gun with clear glue sticks
- Twine

How to make this DIY Popsicle Garland
Gather supplies.
Uploading the SVG Pattern
Upload Popsicle SVG File into Design Space.
Click Ungroup.
Cutting
Select “Make It” in Design Space.
Set material type to Copy Paper, lightweight, and adjust the default pressure to “more”.
Place a sheet of decorative paper on the light grip mat.
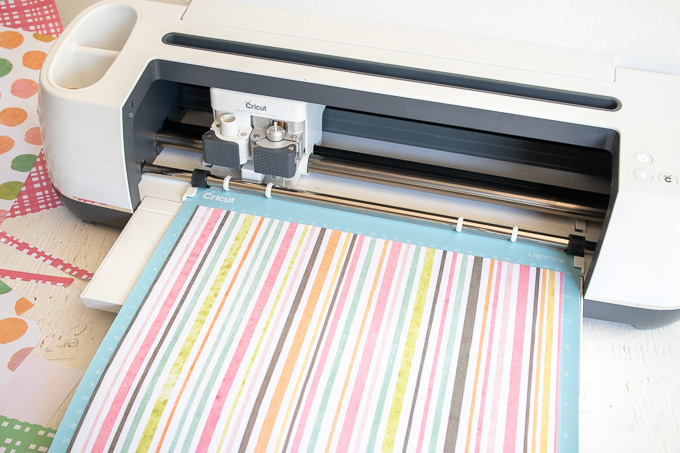
Follow prompts for loading the mat into the Cricut Maker and cutting the paper. When prompted, unload the mat from the cutting machine.
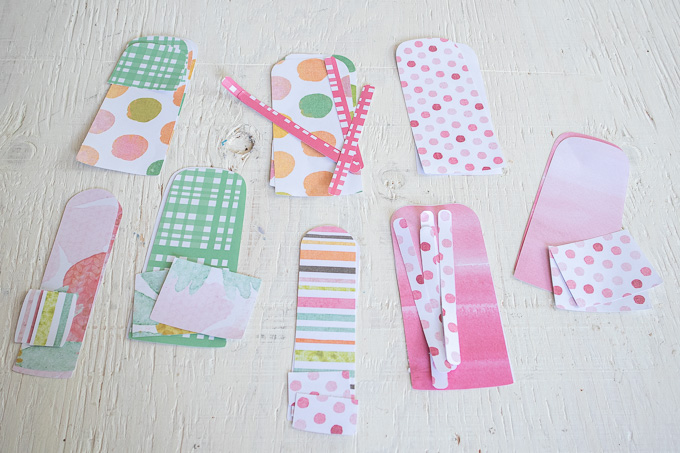
Peel off the paper from the mat and put the cut popsicle pieces to one side for assembling later.
Repeat for each different paper color until all pieces are cut.
How to Assemble the Garland
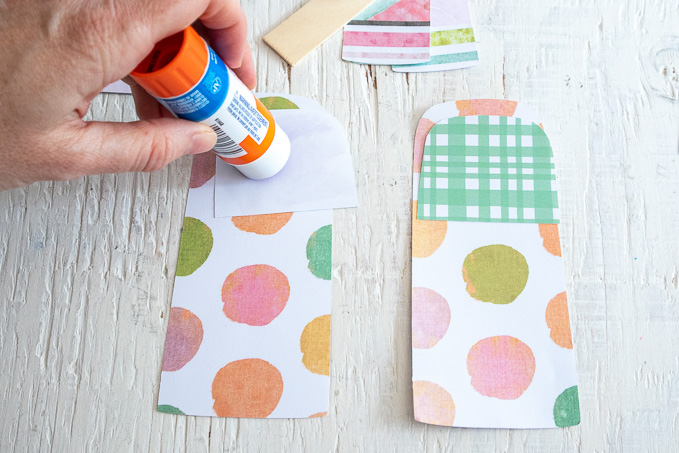
Each popsicle has two sides. Place all the pieces for each individual popsicle together on a flat surface to assemble.
Using a glue stick, apply glue to the backside of the smaller decorative cut pieces and press them on to the larger cut popsicle pieces as shown. Repeat for all popsicles.
Preheat the hot glue gun. Cut a piece of twine 60” long.
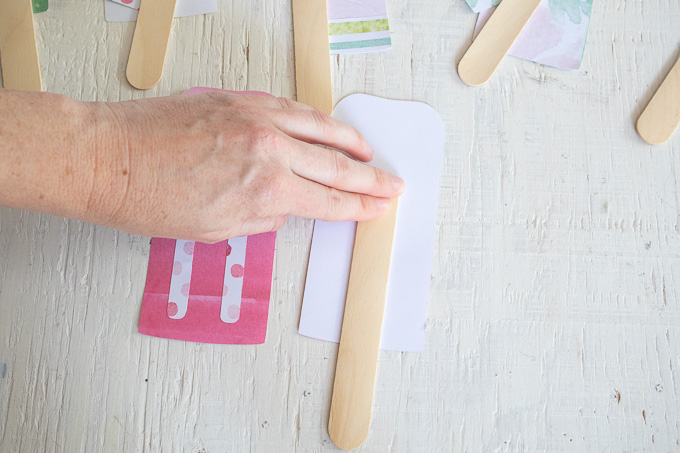
Working one popsicle at a time, place both sides of the popsicle face down.
Add hot glue to the upper half of one side of a wooden popsicle stick and press it down on to the wrong side of the paper popsicle.
Add a bead of glue at the top of the stick and carefully press the twine into the glue across the width of the paper popsicle leaving about 15” of twine on the starting end.
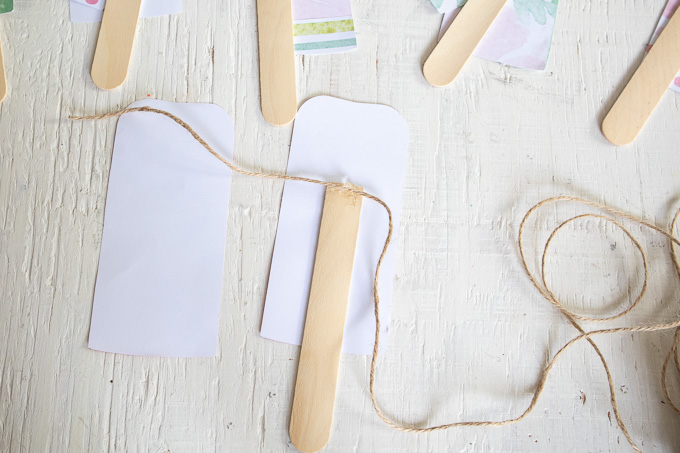
Apply glue to the other side of the popsicle and press it on top with the wrong sides together, sandwiching the glued twine inside.
Continue with the remaining popsicles keeping a 4” spacing between each paper popsicle until all popsicles are attached.
When finished, hang to enjoy it!
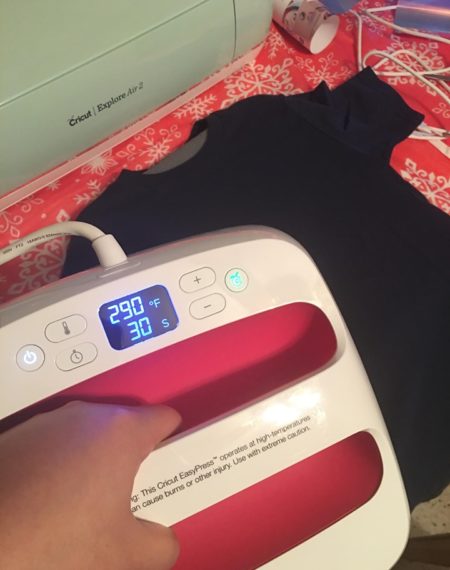 Easy Press Creations For Cricut
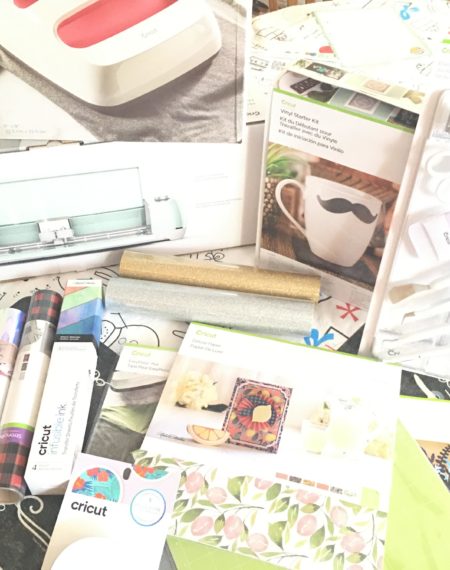 5 Reasons Why You Need A Cricut Explore Air 2
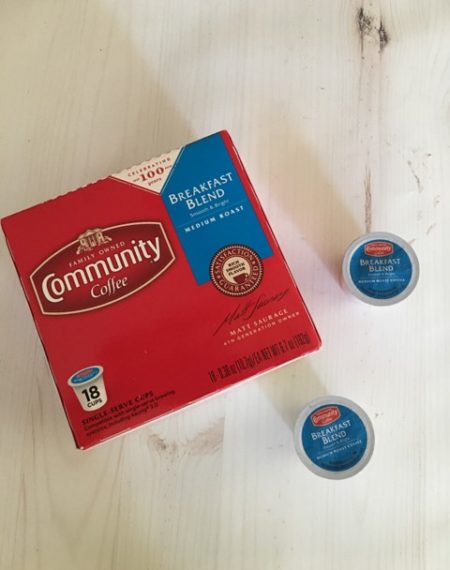 Breakfast Made Easy With Community Coffee
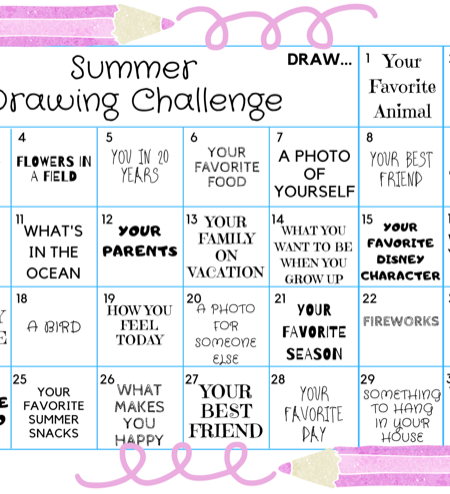 Summer Drawing Challenge


)
Leave a Reply